Configuring Pepper for the first time
Pepper - Getting started wizard
Getting started language and software agreement
| Step | Action |
|---|---|
Choose the language to use in the current wizard. 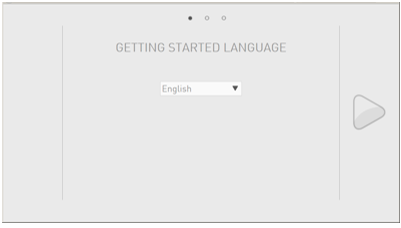
Click the |
|
Check and validate the 2 conditions of the End-user Software License Agreement. 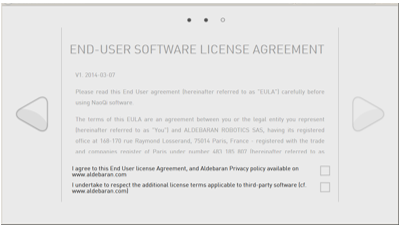
Click the |
 next button.
Setting WiFi connection
| Step | Action |
|---|---|
Select one of the available WiFi networks. Note: choose a Wifi network having one of the Supported personal securities. 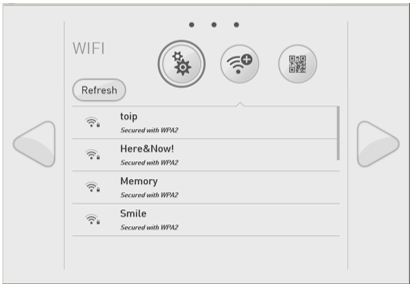
|
|
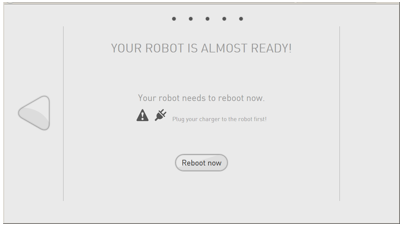
Complete the required parameters, and click the Connect button. 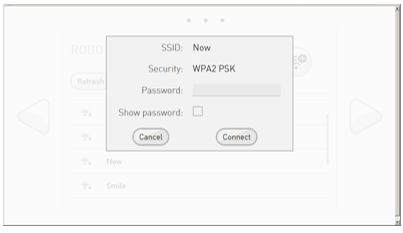
Tips: Do not remove the cable yet: the wizard requires the Ethernet connection. Click the |
Note
If you have been provided with a QR Code, you can also set the WiFi connection
by clicking the  QR code button.
Customizing your robot
| Step | Action |
|---|---|
Customize the name of your robot. 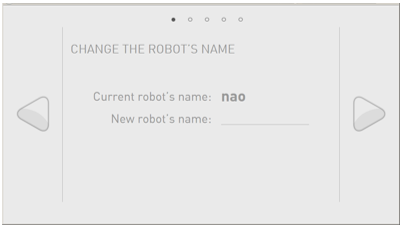
This is useful if you have more than one robot. Click the |
|
Change the password securing the access to the robot. 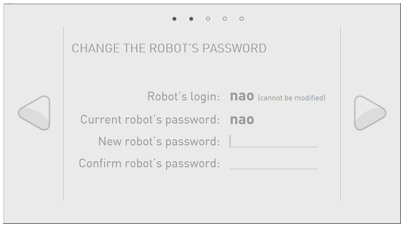
Warning Keep the password! Robot’s password is mandatory to connect to the robot and to its Web page. Click the |
|
Complete the login and password you used to access to the Aldebaran Cloud. 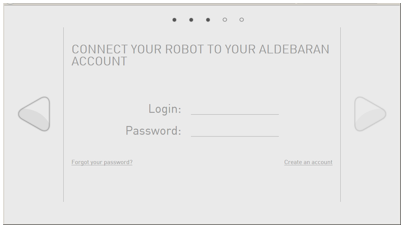
Click the |
|
Two cases:
|