Webots for NAO
What is Webots for NAO
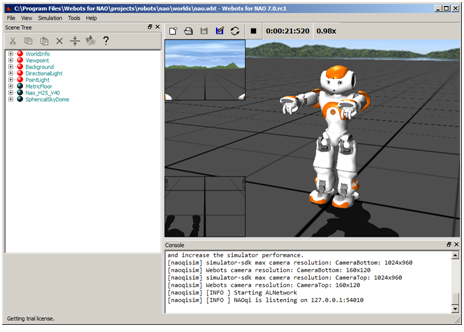
Webots for NAO is a specific release of Webots 7, exclusively dedicated to the use of a simulated NAO.
It offers predefined NAO simulations with their ready-to-use controllers.
What it is not
Webots for NAO is a lite version of Webots, it is not designed to let you use other robots nor create new robot controllers.
Installing Webots for NAO
To install Webots for NAO:
Follow the Chapter 1: Installing Webots in Webots online user guide here: http://www.cyberbotics.com/guide/
Getting started
Launching a simulated robot
| Step | Action |
|---|---|
| Launch Webots for NAO. | |
Choose File > Open World... and select the file nao.wbt located in [Webots directory]\projects\robots\nao\worlds. 
|
Connecting Choregraphe to the simulated robot
| Step | Action |
|---|---|
| Launch Choregraphe. | |
Choose Connection > Connect to or click the  Connect to
button. Connect to
button. |
|
Select your simulated robot (the name should include the name of your computer). Its icon should be: 
In Choregraphe, you can now:
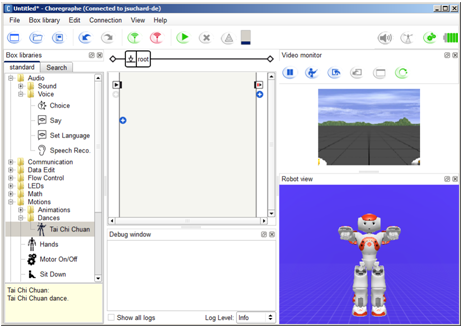
|
Testing a behavior in Webots for NAO
| Step | Action |
|---|---|
Make sure you have launched a simulated robot and have connected Choregraphe to it. For further details see: |
|
In Choregraphe, create a behavior. For example, test the Tai Chi Chuan box. |
|
Make sure the Stiffness is on:  should be red should be red  . . |
|
Click the 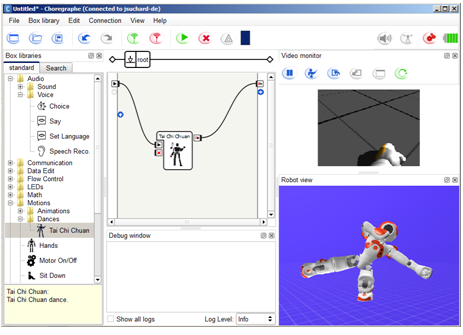
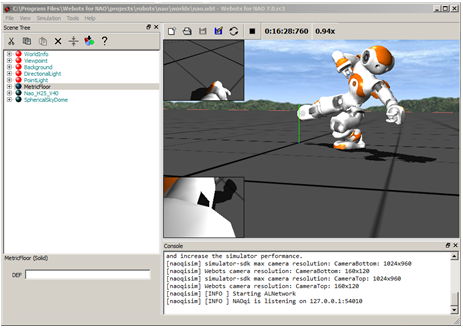
|
|
Try to modify your point of view. For further details, see: How do I navigate in 3D world? in the Help menu. |
Monitoring the simulated NAO
| Step | Action |
|---|---|
In Webots for NAO, double-click the robot. The panel below appears. 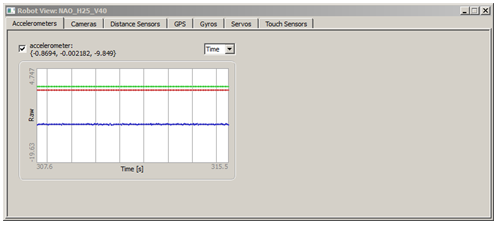
|
|
| Choose one of the tabs and select the data you want to monitor. |
Customizing NAO’s worlds
Adding an object
Let’s add a table, for example:
| Step | Action |
|---|---|
Make sure the simulation is stopped. Otherwise, choose, Simulation > Stop then File > Revert World. |
|
In the Scene Tree, select the last node. 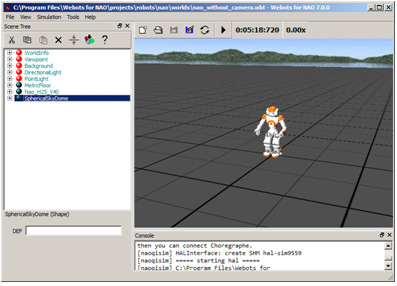
|
|
Click the PROTO > objects > indoor > tables > Desk (Solid) 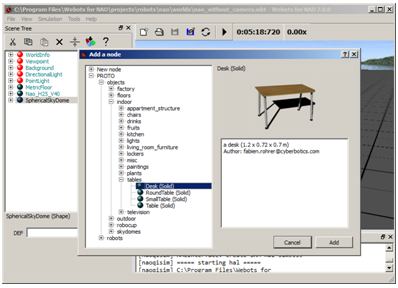
|
|
Click the Add button. 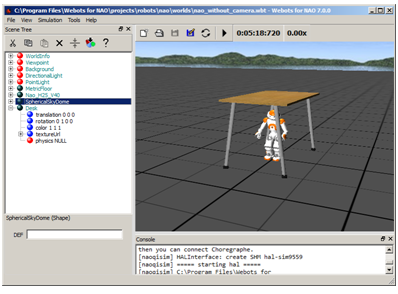
|
Moving objects
Let’s play with objects in order to learn how to move them.
| Step | Action |
|---|---|
Make sure the simulation is stopped. Otherwise, choose, Simulation > Stop. |
|
| In the Scene Tree, select the last node. | |
Click the PROTO > objects > indoor > fruits > FruitBowl (Solid) |
|
Click the Add button. 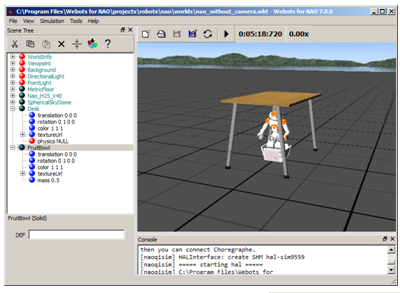
|
|
Try to put the fruit bowl on the table. For further details, see: How do I move an object? in the Help menu. 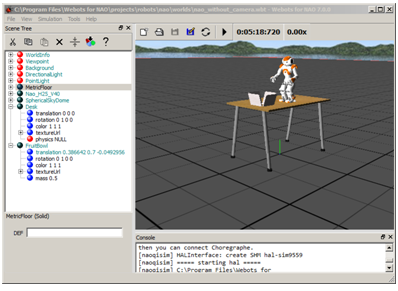
|
 Play button and follow the behavior both in Choregraphe
and in Webots for NAO.
 Add a new object button and select this object: